Swift
[iOS|Swift] UIView 커스텀하기 (그림자)
moving
2022. 4. 22. 20:01
728x90
UIView 그림자 생성하기
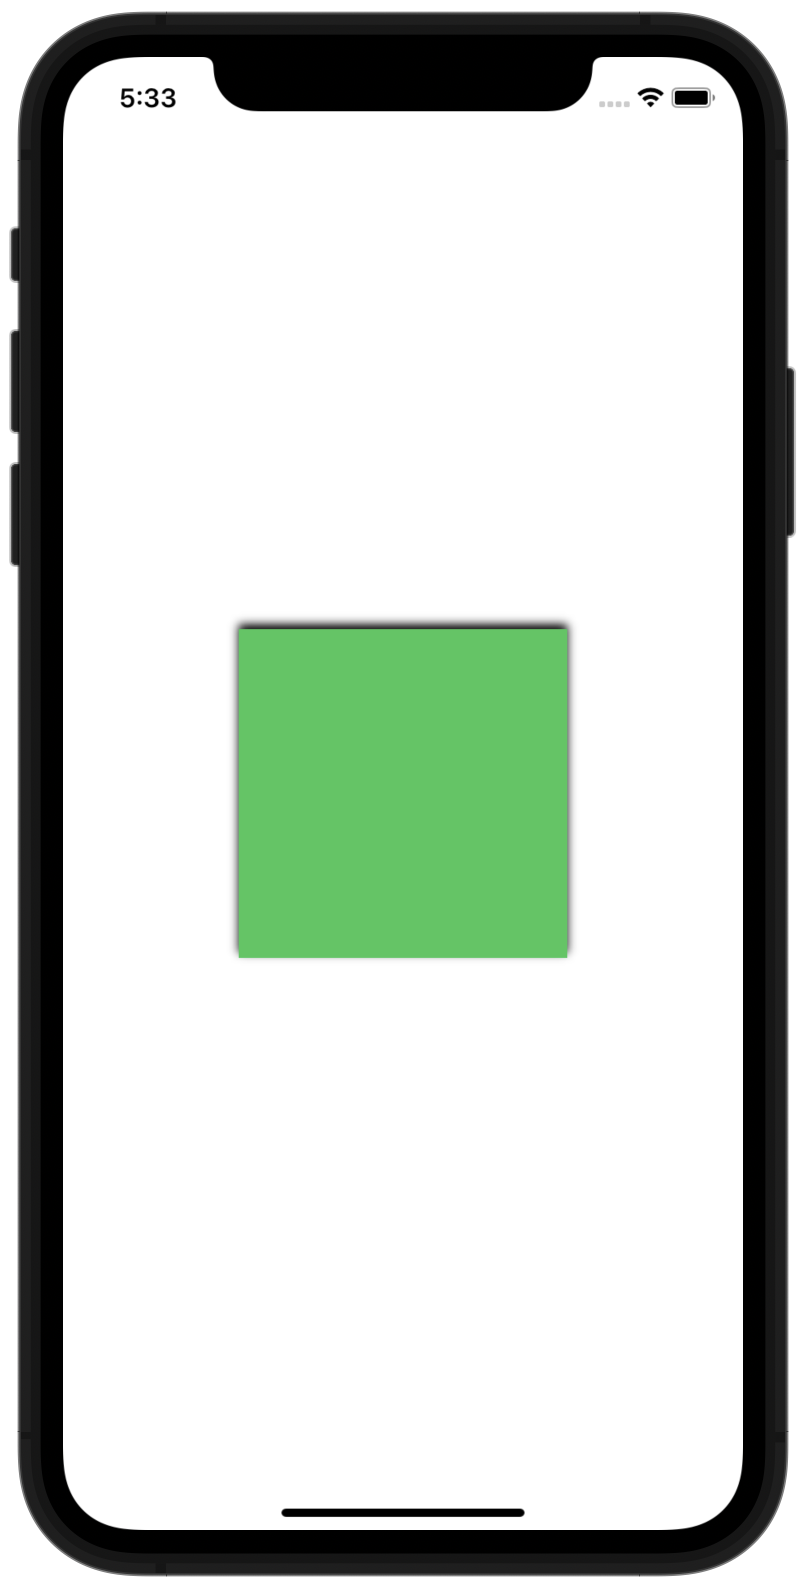
1. 그림자의 불투명도 지정하기
// Declaration
var shadowOpacity: Float { get set }
testUIView.layer.shadowOpacity = 1The value in this property must be in the range 0.0 (transparent) to 1.0 (opaque).
The default value of this property is 0.0.
불투명도는 0 ~ 1 사이의 값을 줄 수 있음. 기본값은 0.0임
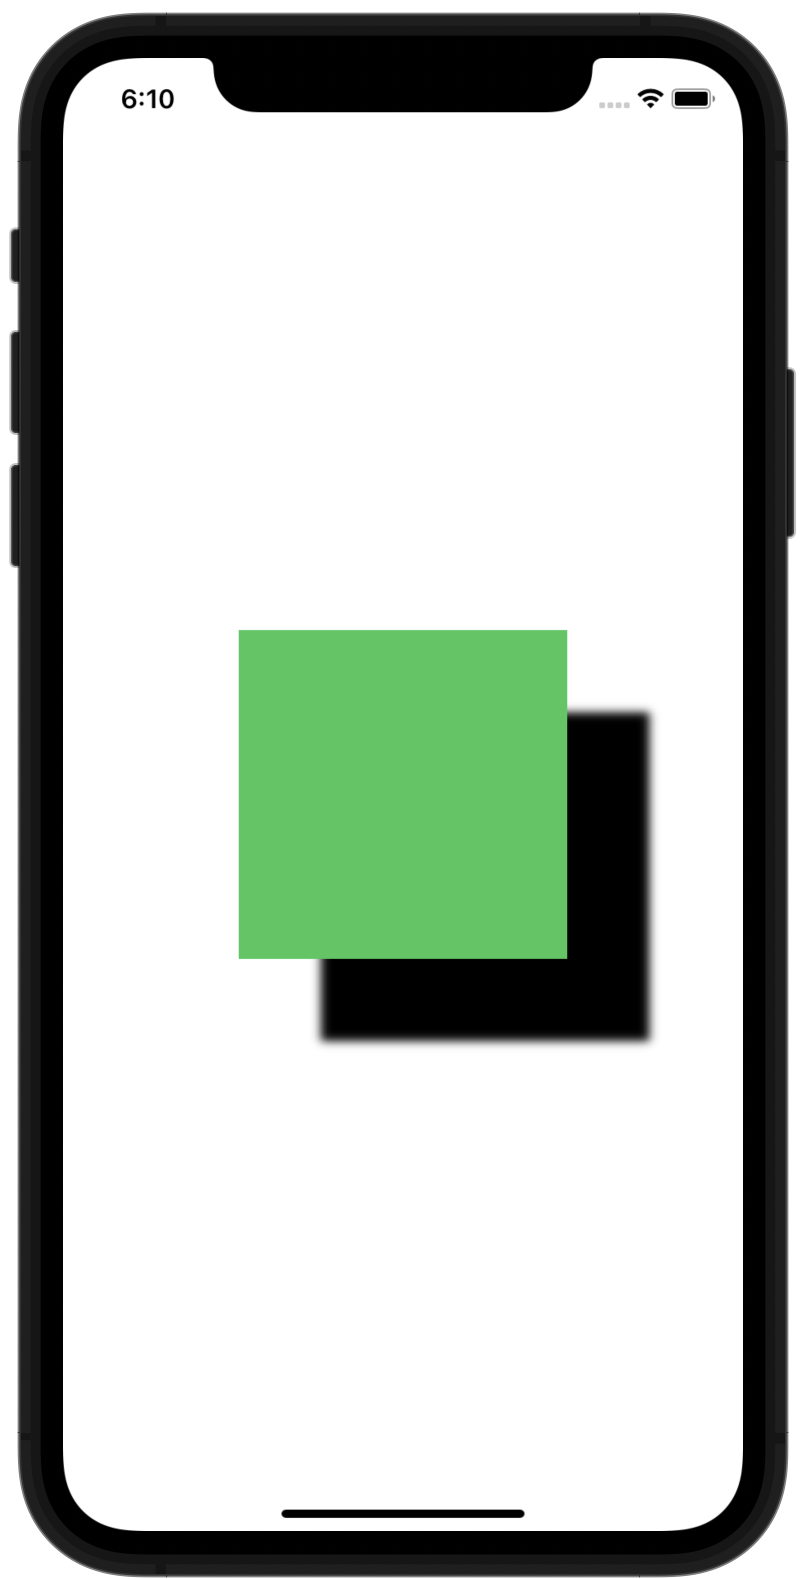
2. 그림자의 위치 지정하기
// Declaration
var shadowOffset: CGSize { get set }
testUIView.layer.shadowOffset = .zerotestUIView.layer.shadowOffset = CGSize(width: 50, height: 50)
3. 그림자의 흐림 지정하기
// Declaration
var shadowRadius: CGFloat { get set }
testUIView.layer.shadowRadius = 10
4. 그림자의 색상 지정하기
// Declaration
var shadowColor: CGColor? { get set }
testUIView.layer.shadowColor = UIColor.brown.cgColor
5. 그림자의 모양 커스텀하기
// Declaration
var shadowPath: CGPath? { get set }
The default value of this property is nil
- CGPath 사용
testUIView.layer.shadowOpacity = 1
testUIView.layer.shadowRadius = 5
testUIView.layer.shadowColor = UIColor.orange.cgColor
let contactShadowSize: CGFloat = 20
let shadowPath = CGPath(ellipseIn: CGRect(x: -contactShadowSize,
                                          y: testUIView.bounds.height - (contactShadowSize * 0.4),
                                          width: testUIView.layer.bounds.width + contactShadowSize * 2,
                                          height: contactShadowSize),
                        transform: nil)
testUIView.layer.shadowPath = shadowPath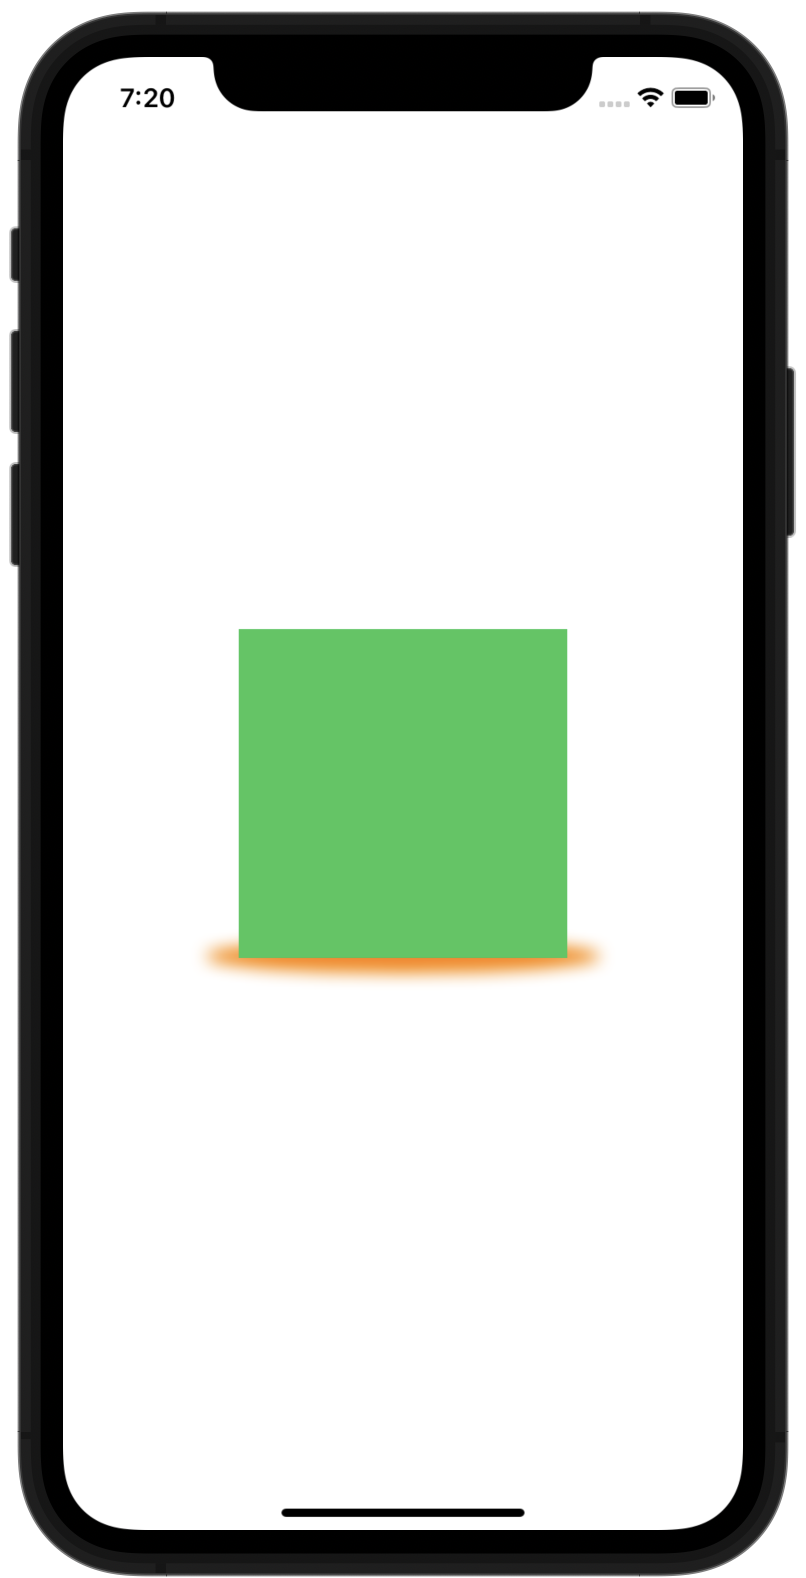
- UIBezierPath 사용
testUIView.layer.shadowOpacity = 1
testUIView.layer.shadowRadius = 1
testUIView.layer.shadowColor = UIColor.brown.cgColor

let contactShadowSize: CGFloat = 20
let rect = CGRect(x: -contactShadowSize,
                  y: testUIView.frame.height - (contactShadowSize * 0.4),
                  width: testUIView.frame.width + contactShadowSize * 2,
                  height: contactShadowSize)
testUIView.layer.shadowPath = UIBezierPath(ovalIn: rect).cgPath
➕ masksToBounds
// Declaration
var masksToBounds: Bool { get set }
The default value of this property is false.
testUIView.layer.masksToBounds = false- testUIView의 layer의 경계를 넘어서 그려질 수 있음
참고URL
https://developer.apple.com/documentation/quartzcore/calayer/1410771-shadowpath
https://medium.com/swlh/how-to-create-advanced-shadows-in-swift-ios-swift-guide-9d2844b653f8